Thursday, August 31, 2006

Networking

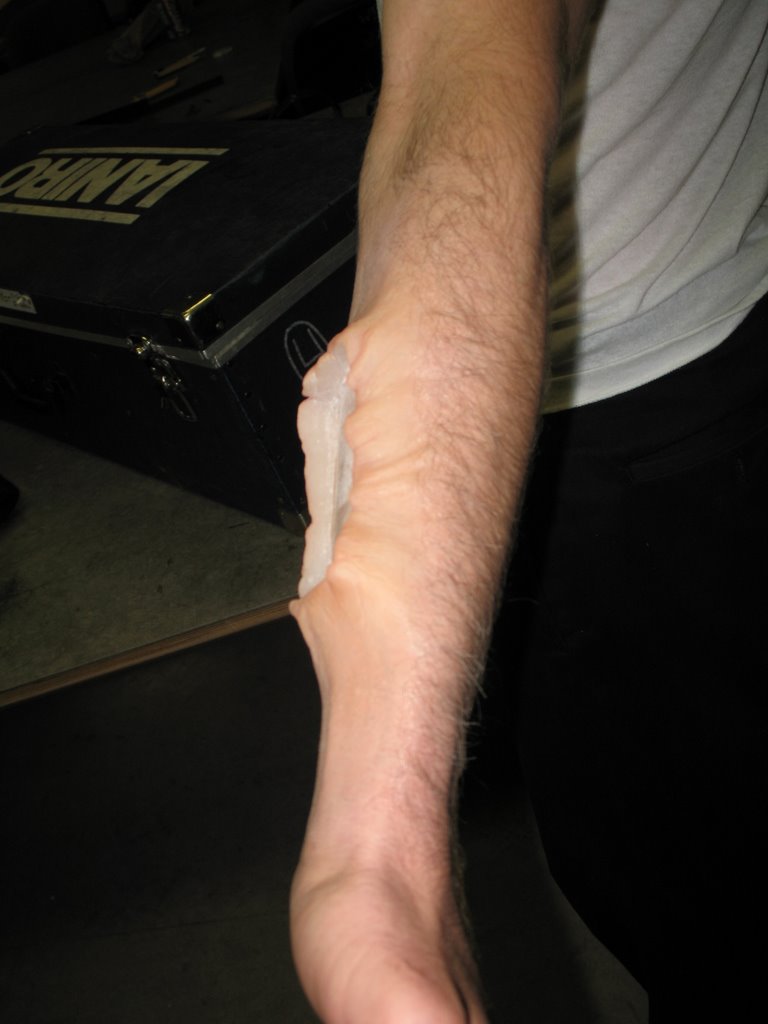
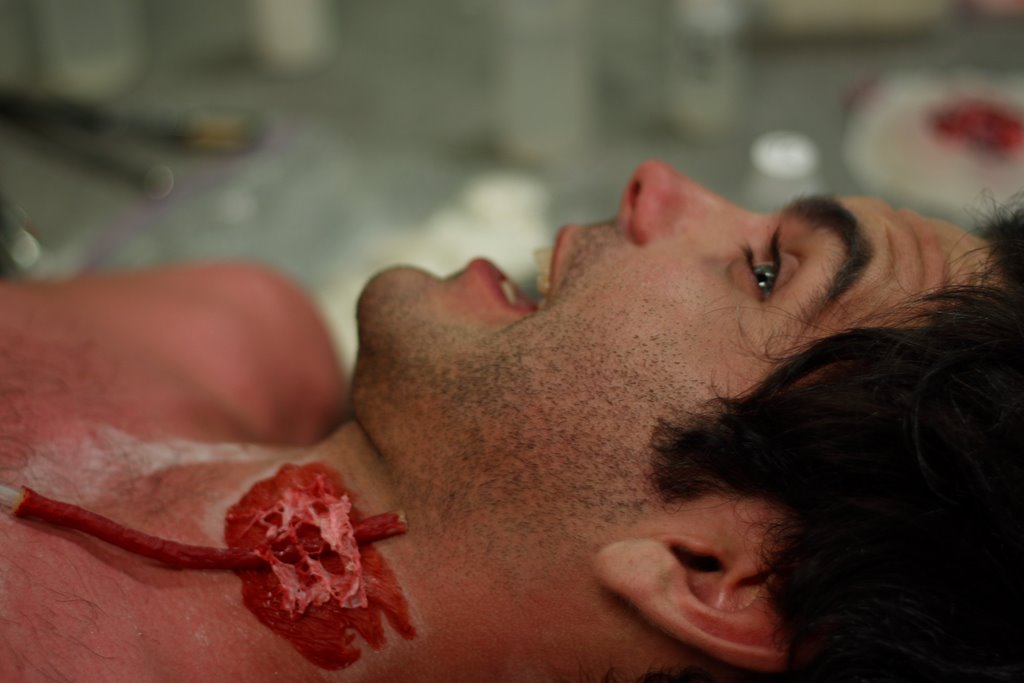
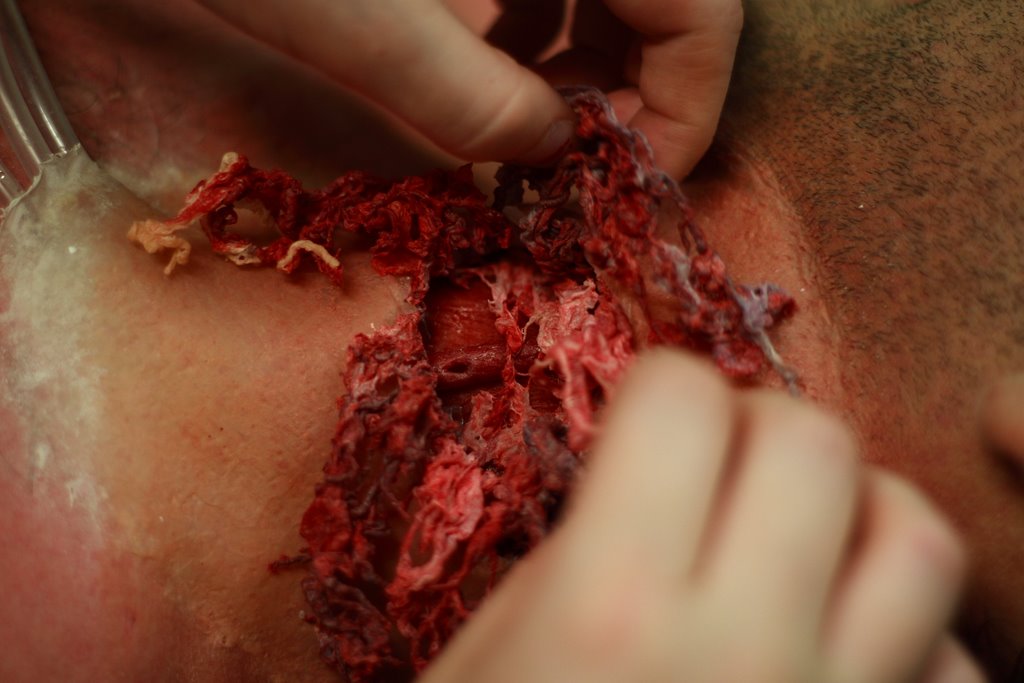
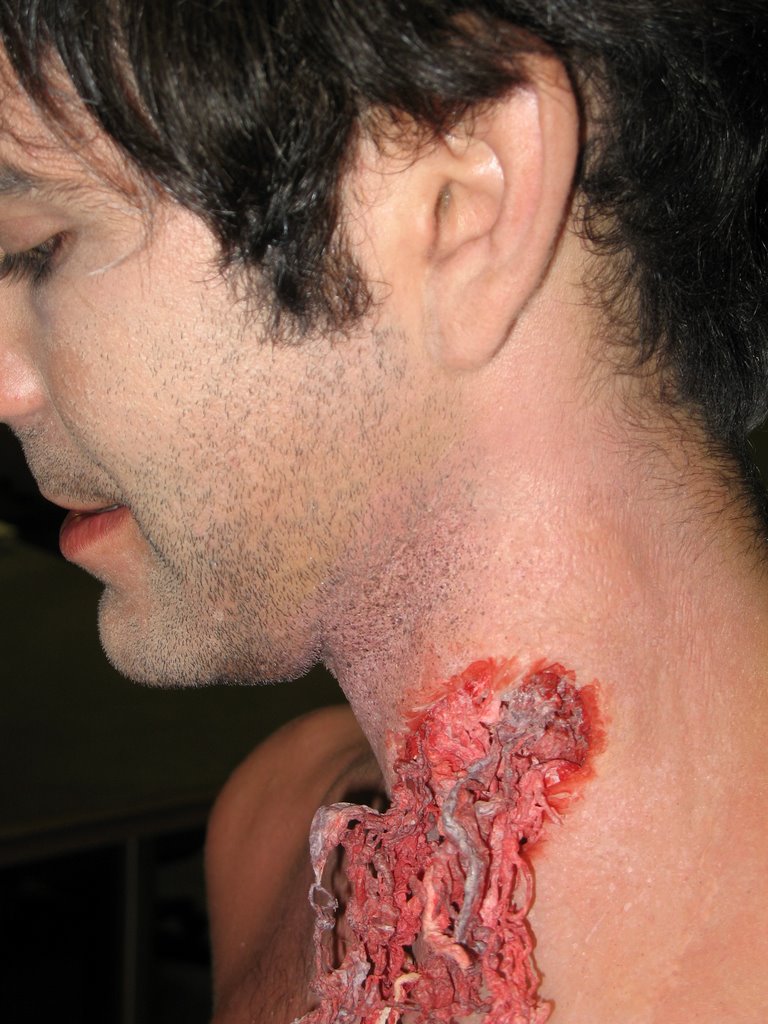
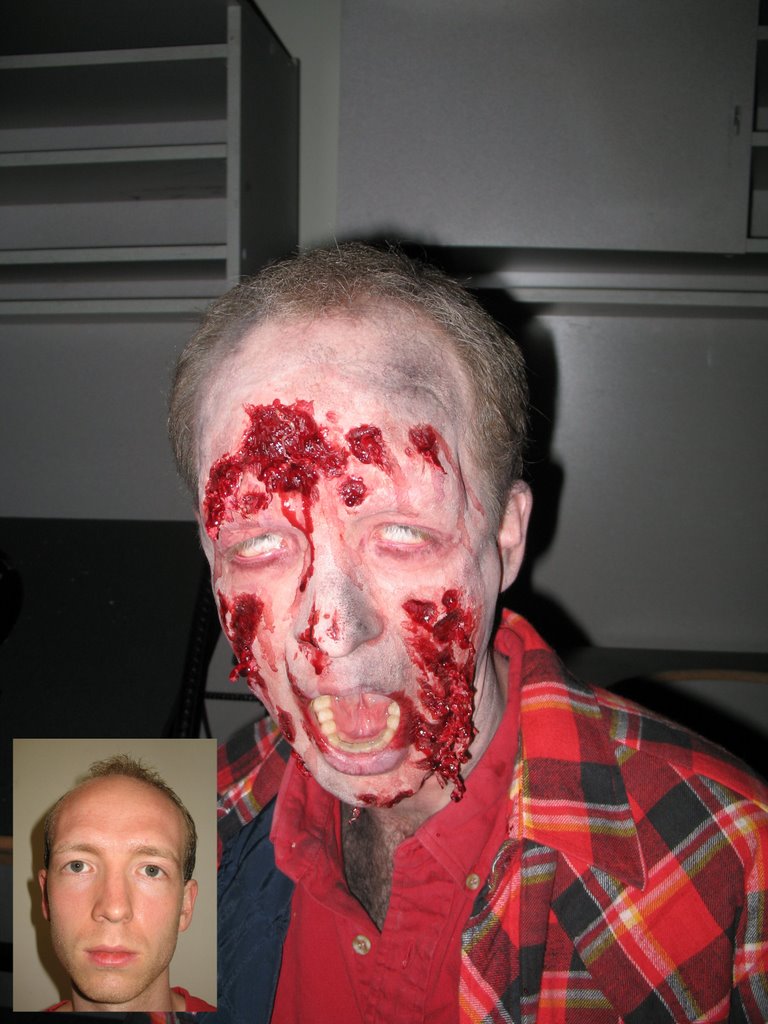
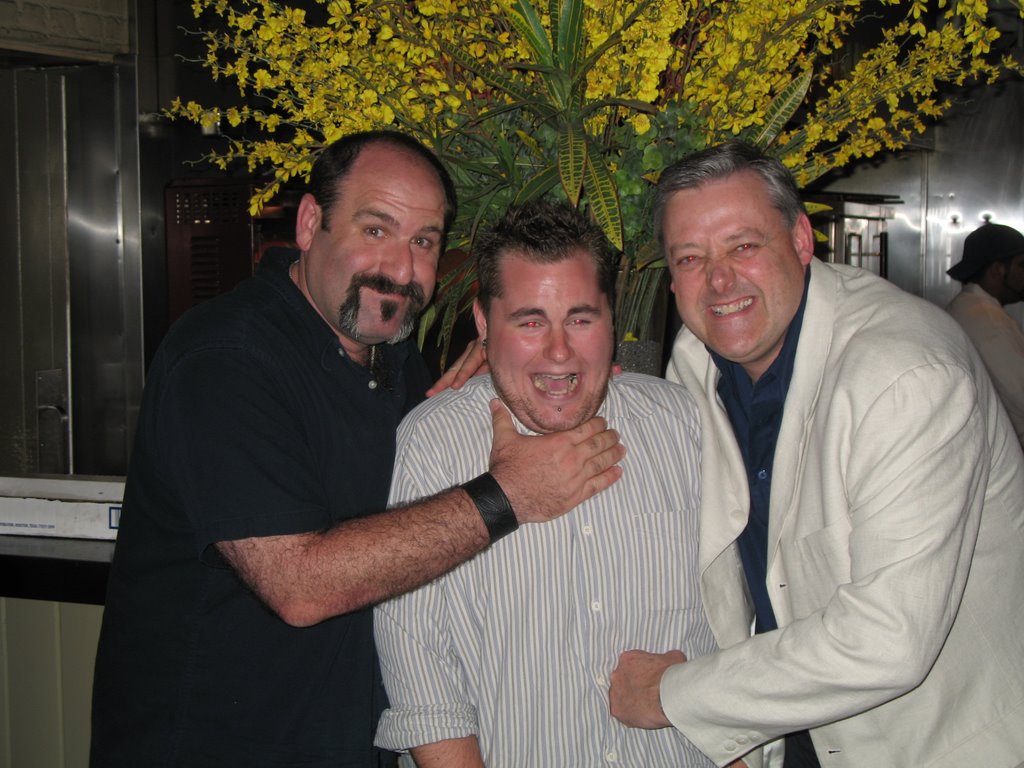
So while working on a VFS student film called 'Per-specs' I met a local actor named Jono Lee. He was a really great guy, super nice and funny as well. While on the shoot I showed him my portfolio, and as a result he asked if I could maybe help out with something he had coming up. He wanted me to do a scar(we later made it a burn scar) of some sort on the side of his face. So I said sure I'd love to and we exchanged cards. I must say you're never really sure if things will progress or just stand still at the first initial talk. But sure enough they did, it ended up that project he wanted me to work on was going to be an entry for a competition held by the Vancouver Asian Film festival. We had a meeting and set a date to do Jono's face cast. Once that was done I went on my way sculpting the piece I would use on him. I ended up sculpting 2 different scars. I did the first and showed Charles Porlier and asked for tips as I always do!! He gave me some great advice, which involved me thinning out the piece/sculpt. In doing so I basicaly removed all the detail I had sculpted. The resculpt was even better and I was extremely please with the outcome. It had a much more realistic look and feel. So for some of you who aren't exactly sure how prosthetics are made. I have posted some the rough stages of creating the piece.

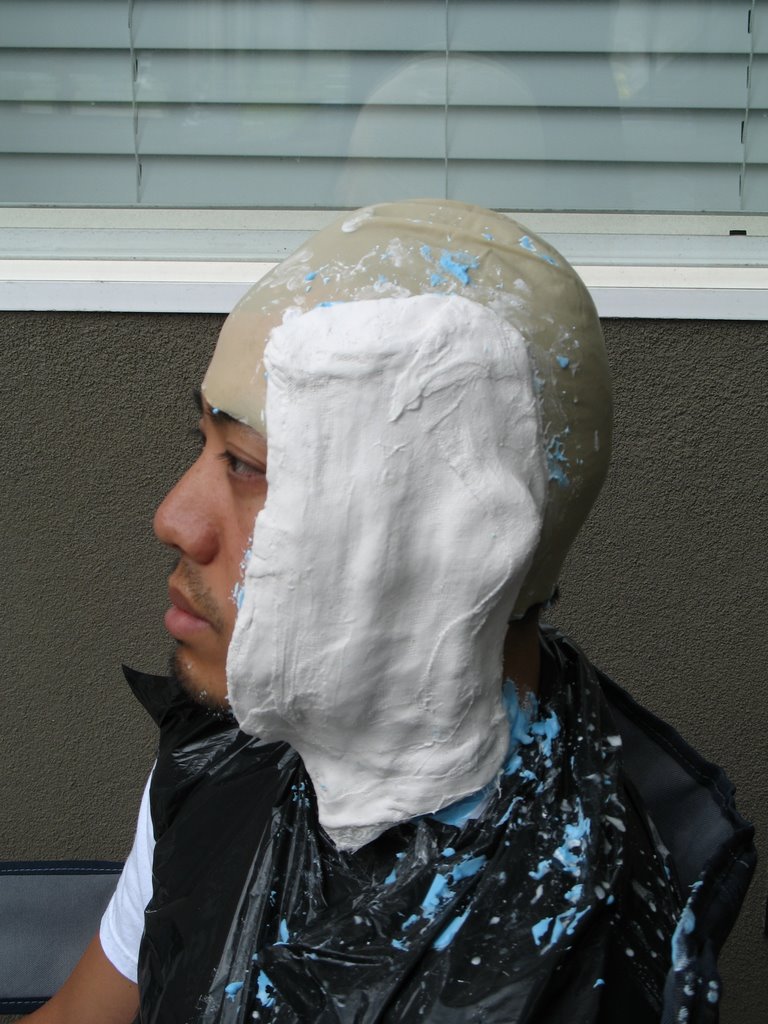
Here you see Jono first with the alginate setting up with some cheese clothe lightly pressed into it. This enables the plaster bandages, which you see in the second picture, that go over top(which give the cast a ridged support) something to grab onto. After the alginate piece is removed a positive is made by pouring Ultracal 30 into the face cast. Once hardened, the alginate and bandages are removed and the positive was put in a Ultracal 30 base. Once this set up I cleaned up the edges a bit and it was ready to sculpt on.

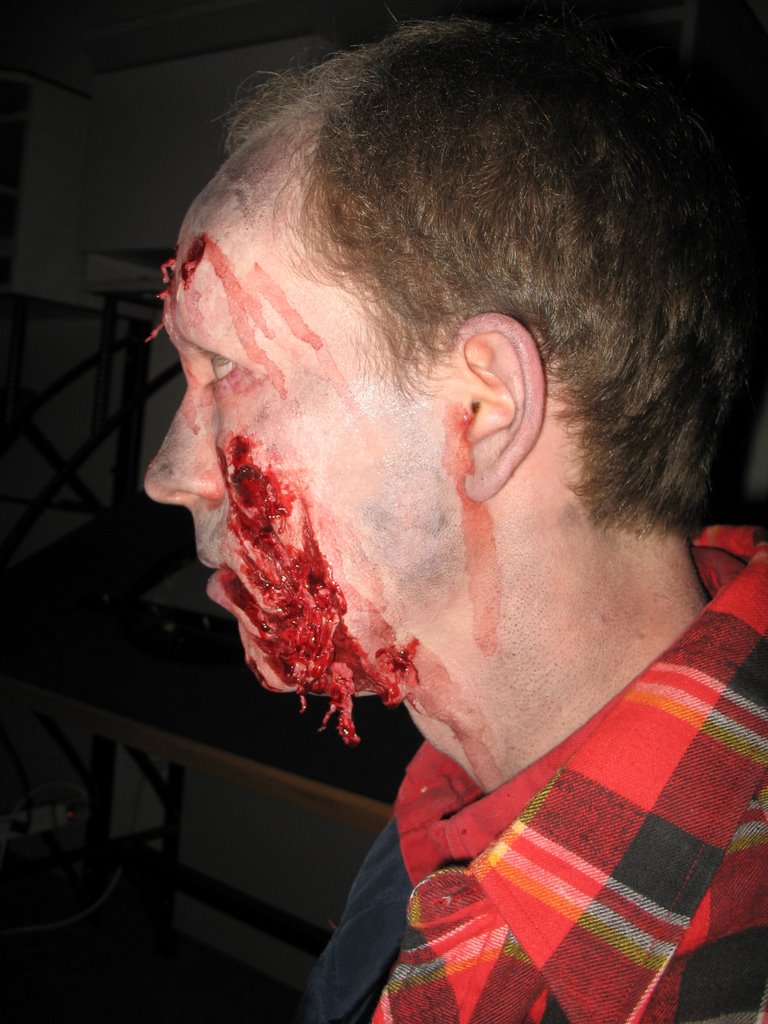
You can see in the pictures here how the ear was completely filled in(with Ultracal 30) and only the ear lobe was exposed(now covered with clay though) with a bit of the outer rim. The one on the left was my first sculpt, as you can see it is quite thick and almost Freddy Kruger like. I wanted it to be more real, and although I did see actual pictures of real scars that were this thick and obvious, the less is more idea seems to always work. So once I removed a lot of the mass I extended the scar even further, though it was much thinner, this gave me a better blending edge, and the scar didn't look like a thick prosthetic just slapped on the face. The piece came out amazingly well, and had great edges for blending! The final result soon to come...

Sunday, August 27, 2006

1 Day job!!

Quickly following the zombie film, a guy named Doug from the same class as Jonny(Director of zombie film) asked me to create a prosthetic that would make it look like this clock was embedded in to the main characters arm. The thing was he brought be the clock the day before he wanted to shoot!! So I had to quickly sculpt a piece that would hold the clock and create the negative mold that same day. The result I actually didn't mind! It was a quick job, but really interesting and a good experience to do. I ended up applying the clock for 2 days in a row, this was the first time I have ever applied the same effect twice. Not to shabby, there was also a bit of hair laying involved, just to replace the hair that was shaved away so the prosthetic would stick with out problems. Try to tell where the fake hair is!?

Just a final note, I hate how thick the clock actually was and how much of a slope I had to build to make it look like it was embedded. When he first told me I totally imagined your typical wrist watch with out the straps. Just goes to show how you can envision something completely different than some one else!!!

Monday, August 21, 2006

A night of removal...Pt. 2

Like I stated earlier this has been my most favorite make up I have done so far. This was done for the same film "A Night of Removal". What I ended up doing was creating the neck bite on a plate mold, and even sculpted in some muscle detail in the hole. Then when I applied it I removed the muscle to create an actual hole/bite in the piece. Never doing this before, I wasn't sure how thick to make the prosthetic itself, not wanting it to bulge out in an unnatural way I made it a bit too thin. Though this later came in handy, as I wasn't sure how I was going to glue in the stringy latex bits that would be tearing and look like tissue and flesh. I ended up sandwiching the latex bits in between 2 neck bits pieces, there for getting a prosthetic that wasn't too thick but was still able to conceal the blood tubing under neath.

I ended up having 3 blood lines. 2 carried blood to the hole to pour out of it, while the 3rd line was connected to a vein I crafted out of latex(built up layers on a skinny round chop stick, then powdered and removed and then colored with the proper shade of pax paint), which had a hole in it, that would squirt an actual stream of pumping blood. So below you'll see several pictures going through the stages of applying this effect.

I glued down with pros aid the removed muscle textured pieces that were originally in the hole on the neck bite piece its self. Then put the vein I created over top, this was glued to the piece as well as the actors skin with Telesis 5. Then lastly I put a nice little piece of webed latex for another layer of texture. When I was placing the vein I would put the prosthetic over top to position the hole and make sure it was not covered.


Next I glued the other 2 blood lines(connected to a 30cc and 60cc syringe) in place with Telesis 5 as well. After that I glued the neck bite piece in place with pros aid. I had sandwiched the latex in between the the 2 pieces earlier to create the final single piece to apply. I colored it with Illustraor colors to match his skin tone. Then even added some stubble effect with a dark brown and black so it would blend more on the neck. You can see all 3 blood lines coming out of the bottom of the effect.


After the coloring was done we got him in to wardrobe and to the set. As you can see it blended nicely and everything that makes it work was perfectly hidden. What was to come was so thrilling, after the take, people literally stood there swearing and in awe of what just took place.


This is the aftermath. The large area of blood was the from the vein and it looked awesome as it squirted(pumped with 60cc syringe) out of the jugular. The latex strands were bit and torn off by the zombie. I was extremely pleased with how it tured out, and so was the director, so it was just the best feeling.


Friday, August 18, 2006

A night of removal..Pt.1

So my friend asked me to create a zombie make up for his student film project. I hadn't done anything for a while in the creating end of prosthetics. I had applied recently but not sculpted or made my own. The end result was awesome. It felt good to get back into sculpting and creating a make up from scratch. The actor, who does acting for fun in his spare time had never had his face cast or had prosthetics on before. So it was a great experience to go through all the steps with someone who's new to it all. I applied the make up with a lot of time available to me..which probably wasn't the best thing, cause I really want to get better at the speed of my application. In the end I applied a forehead piece(covers brows) as well as a cheeks/chin/frontal neck piece . There was also a small cut piece applied to his nose. These were all. I used a duplicate of the nose piece on the upper lip cause it seemed bare. I then applied some hangy bits of latex from the open wounds. I think next time I do something like this I may not do that or do it in a softer way. I spent a lot of time sculpting and then covered it up with blood and latex bits...lesson learned. I still really liked it though..but the best and most favorite make up(effect) to date was still to come...

I added these last pics just cause I liked they way they look..I took them in a very dark room with no flash then did a quick fix on photoshop..you couldnt even see what he looked like until the fix!

IMATS....June 24-25, 2006

What Can I say..it was an amazing experience! I was accepted into the character/prosthetics competition. Only me and 8 others were selected from entries all over the world. So just being there was a great honour. I didn't place in the competition, sad but true, but I learnt a lot of things from it...like practicing...so important!

It was also the first time I ever applied foam latex, so I did my best. What happens is they give you random foam pieces and you have to make them work! They might have bad edges..or might not, they might fit..might not..I had a case of bad edges..but you just have to go with it. I got 3 pieces; a nose, a chin piece that also covered the bottom lip, and a piece that was like a zorro mask, it went around the eyes and had a huge brow, then went up onto the forehead a bit and down onto the cheeks.

My favorite part was Brent's (my model and friend) character presence he gave on stage(the anouncment of winners). It made me laugh so hard during rehearsal they told me to be quiet. Then the actual crowd really liked it as well.

Anyways besides the competition...my mentor Charles Porlier (Head of Make Up at VFS) is extremely good friends with Howard Berger(Academy Award winner, best make up effects, Narnia) and he invited me and Brent out to dinner with the two of them and a friend of Howard's. Holy crap...I wanted to ask Howard so many things...he even asked if I had questions, but I could barely think of anything...I'm sure he understood..and maybe even felt good because he saw how awe struck I was to be sitting there with him. He, like Charles, is an incredible make up artist and a huge role model of mine, they are both extremely funny and down to earth, but 150% serious about their work. He had some great advice, and I truly wish to meet him again..maybe even work with/under him one day...who knows!!!

For those who don't know, thats Howard Berger on my right(in pic) and Charles Porlier on my left!

Monday, August 14, 2006

Oh I Forgot!!

I worked on this short film back in March for a SFU student. They wanted me to do this leper arm, or something gross. So this is what I came up with. It was done with out of kit effects gelatin then colored with Illustrator palette. I think It turned out great for doing it with no direction! Very gross looking!
In the right picture you'll notice it has a shine to it or a sheen effect. This was done by adding some glycerin over the colored gelatin. Note, you will not want to do this yourself, the glycerin will start to break down the gelatin. I did it cause I had some to use up and also cause I knew this effect wasn't going to be on the girls arm for long. You can get the same effect with Vaseline, and it will not effect the gelatin!

Saturday, August 05, 2006

You guessed it!!!!!!

Yes my make up of choice is prosthetics! I truly do love it. I enjoy all make up really, but creating and applying prosthetics is where I'd really love to make my mark! From body casting to sculpting to applying the final created piece, it's all for me. Back to school though and where it all started, everyone seems to get in there wanting to make monsters and all the extreme make up creations, but when you start its from ground zero. In doing so I found something else I really enjoyed, it's simple, quick, but still challenging sometimes. Your basic corrective make up. Taking a face with all its blemishes, dark circles and anything unappealing to the eye and making it disappear! The result is a nice clean natural looking skin tone and complexion. I also found out that I enjoyed beauty a lot more then expected! So keeping with this whole corrective tone, these pictures are from my first VFS student film I worked on, which was a month or 2 out of school. It was shot in black and white, and stared only 3 men so the make up was pretty basic. Still from the before till after you'll see the work that was done. A plus was some nice sweat effects, so enjoy.

If you would like you can view the film short here: http://www.youtube.com/watch?v=3DltHY8lTnI

Friday, August 04, 2006

Just out of school...

So once being done school, I had the chance to do another aging make up almost instantly. It was great, though my only complaint was my model, she was constantly checking her self every 2 min in her pocket mirror, it started to make me fall behind. Oh well though, she ws nice enough to model for her friend(it was her project, I was just doing the make up), and the piece turned out well. I am still getting my sculpting skills down, I don't mind these pieces(gelatin forehead and a cheeks/chin) though would make the under eye wrinkles much differetly now. As well and the forehead wrinkles. Guess it goes with the territory of learning. I think my biggest thing I need to work on though is coloring. Sometimes it just comes to me, and others I just struggle so much trying to match or find the color I need. I am just getting to know foam latex, and the way you color those pieces and it is quite different! I hope to master it all someday muahahahahahaaaaaaaaaa...hack, cough, weeze!! I'll once again try to update asap this was done back in March, seems so late to show it now. But I just felt I should start from the beginning. So once again please enjoy, and comments are always welcome..