Character makeups.


Extreme age change. 13 to 50. Bond type villain design.
Gelatin cheeks and forehead. 4 piece silicone makeup.
Hand laid facial hair. Hand laid eyebrow and hair line.

Bondo transfer boxer nose.


Werecat. Foam latex, full face with separate chin and ears.

Faun. Gelatin, full face with separate chin and latex ears.
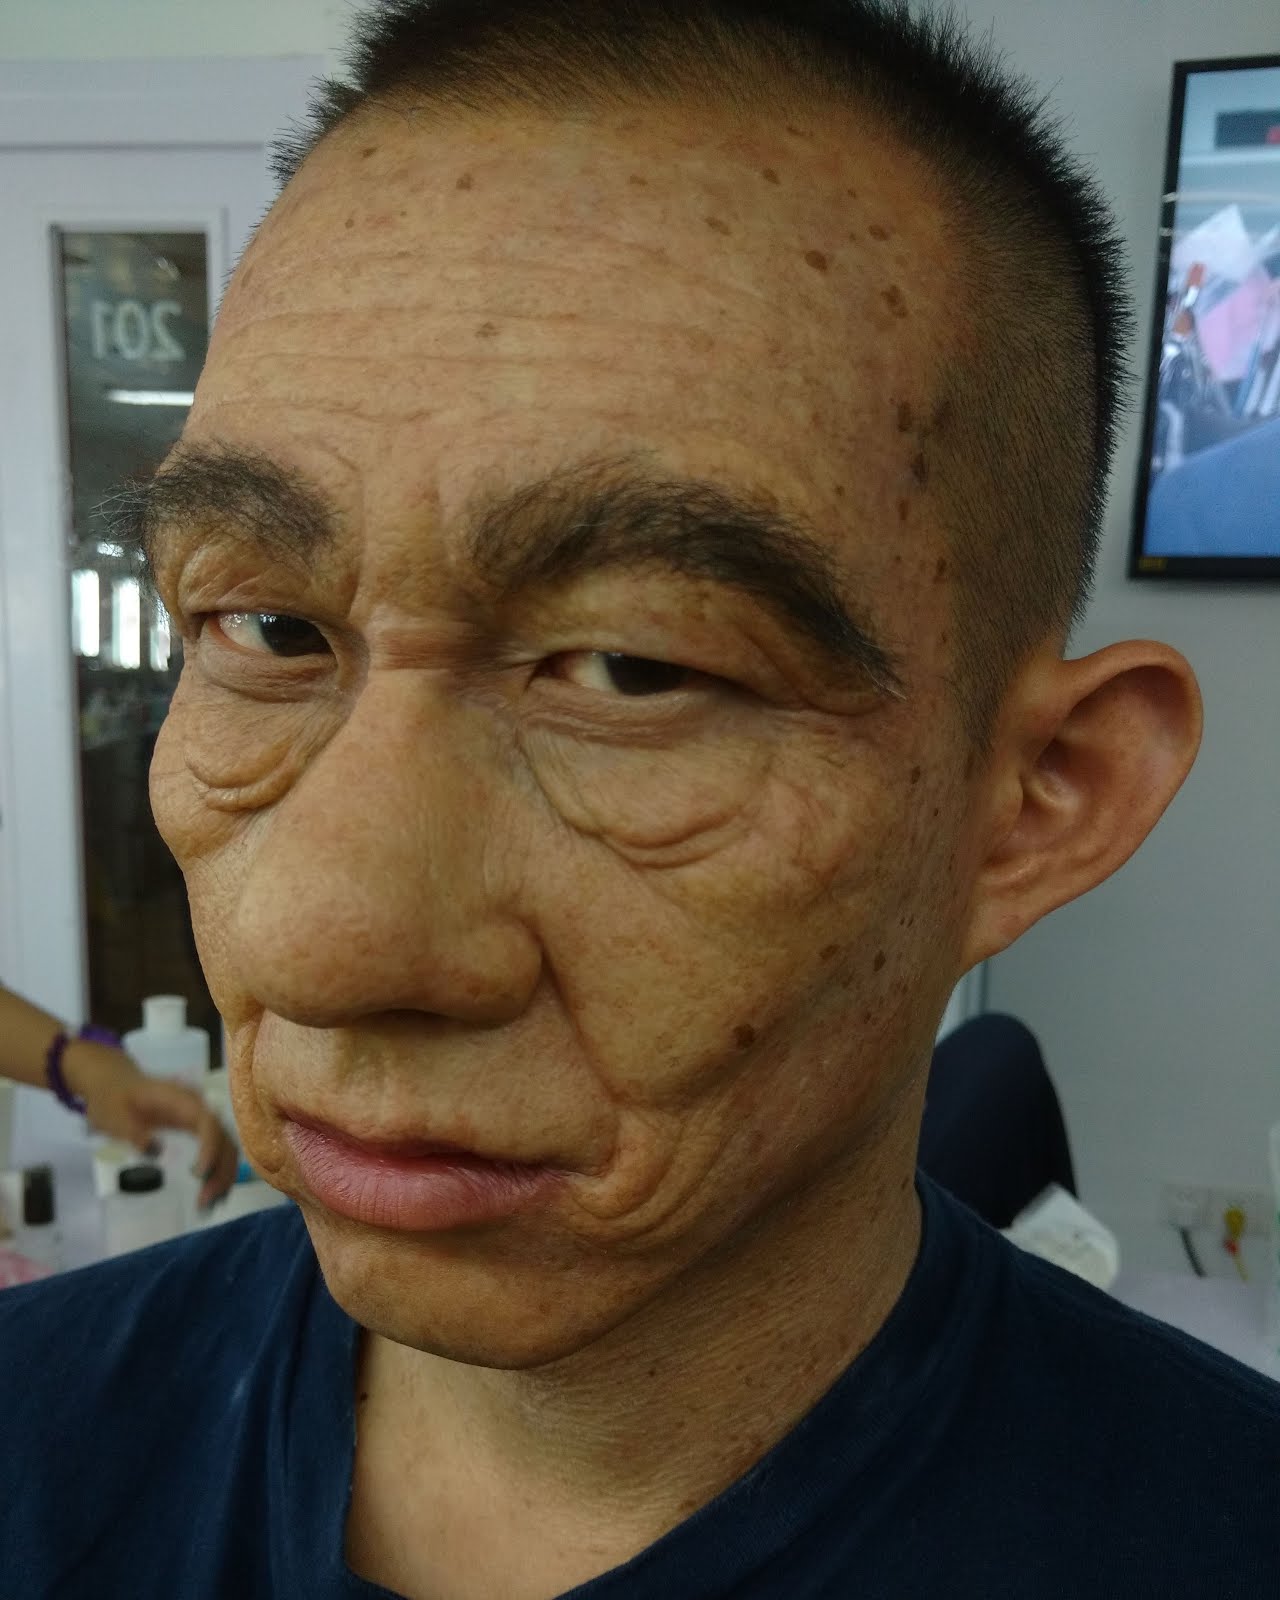
Age makeups.
Age makeups.


Silicone cheeks, forehead, ears and back of hands. Stippled eyelids. Hand laid beard.


Bondo transfer nasal labial, forehead. 11 piece full coverage silicone makeup.


Injuries & Scars

Gelatin beaten up makeup.


Bondo transfer beaten up makeup.


Gelatin compound fracture.


Bondo transfer nasal labial, forehead. 11 piece full coverage silicone makeup.
Lace wig and hand punched eyebrows.


Gelatin chin/cheeks, upper lip and Gelatin cheeks. Stippled eyelids
forehead. Hand laid eyebrows. and forehead.

Gelatin neck/cheek/chin wrap, Gelatin cheeks/nose/upper lip and
nose/upper lip, forehead and earlobes. forehead. Stippled neck.
Stippled eyelids. Hand laid eyebrows. Hand laid eyebrows.
nose/upper lip, forehead and earlobes. forehead. Stippled neck.
Stippled eyelids. Hand laid eyebrows. Hand laid eyebrows.

9 piece full coverage silicone makeup.
Hand punched eyebrows.

Gelatin beaten up makeup.


Bondo transfer beaten up makeup.


Gelatin neck bite with blood rig. Bondo transfer lacerations.

Gelatin compound fracture.


Gelatin laceration scar. Gelatin burn scar.


Silicone acid burn scar. Gelatin burn scar.


Collodion injury.


Collodion scar.


Collodion injury.


Collodion scar.
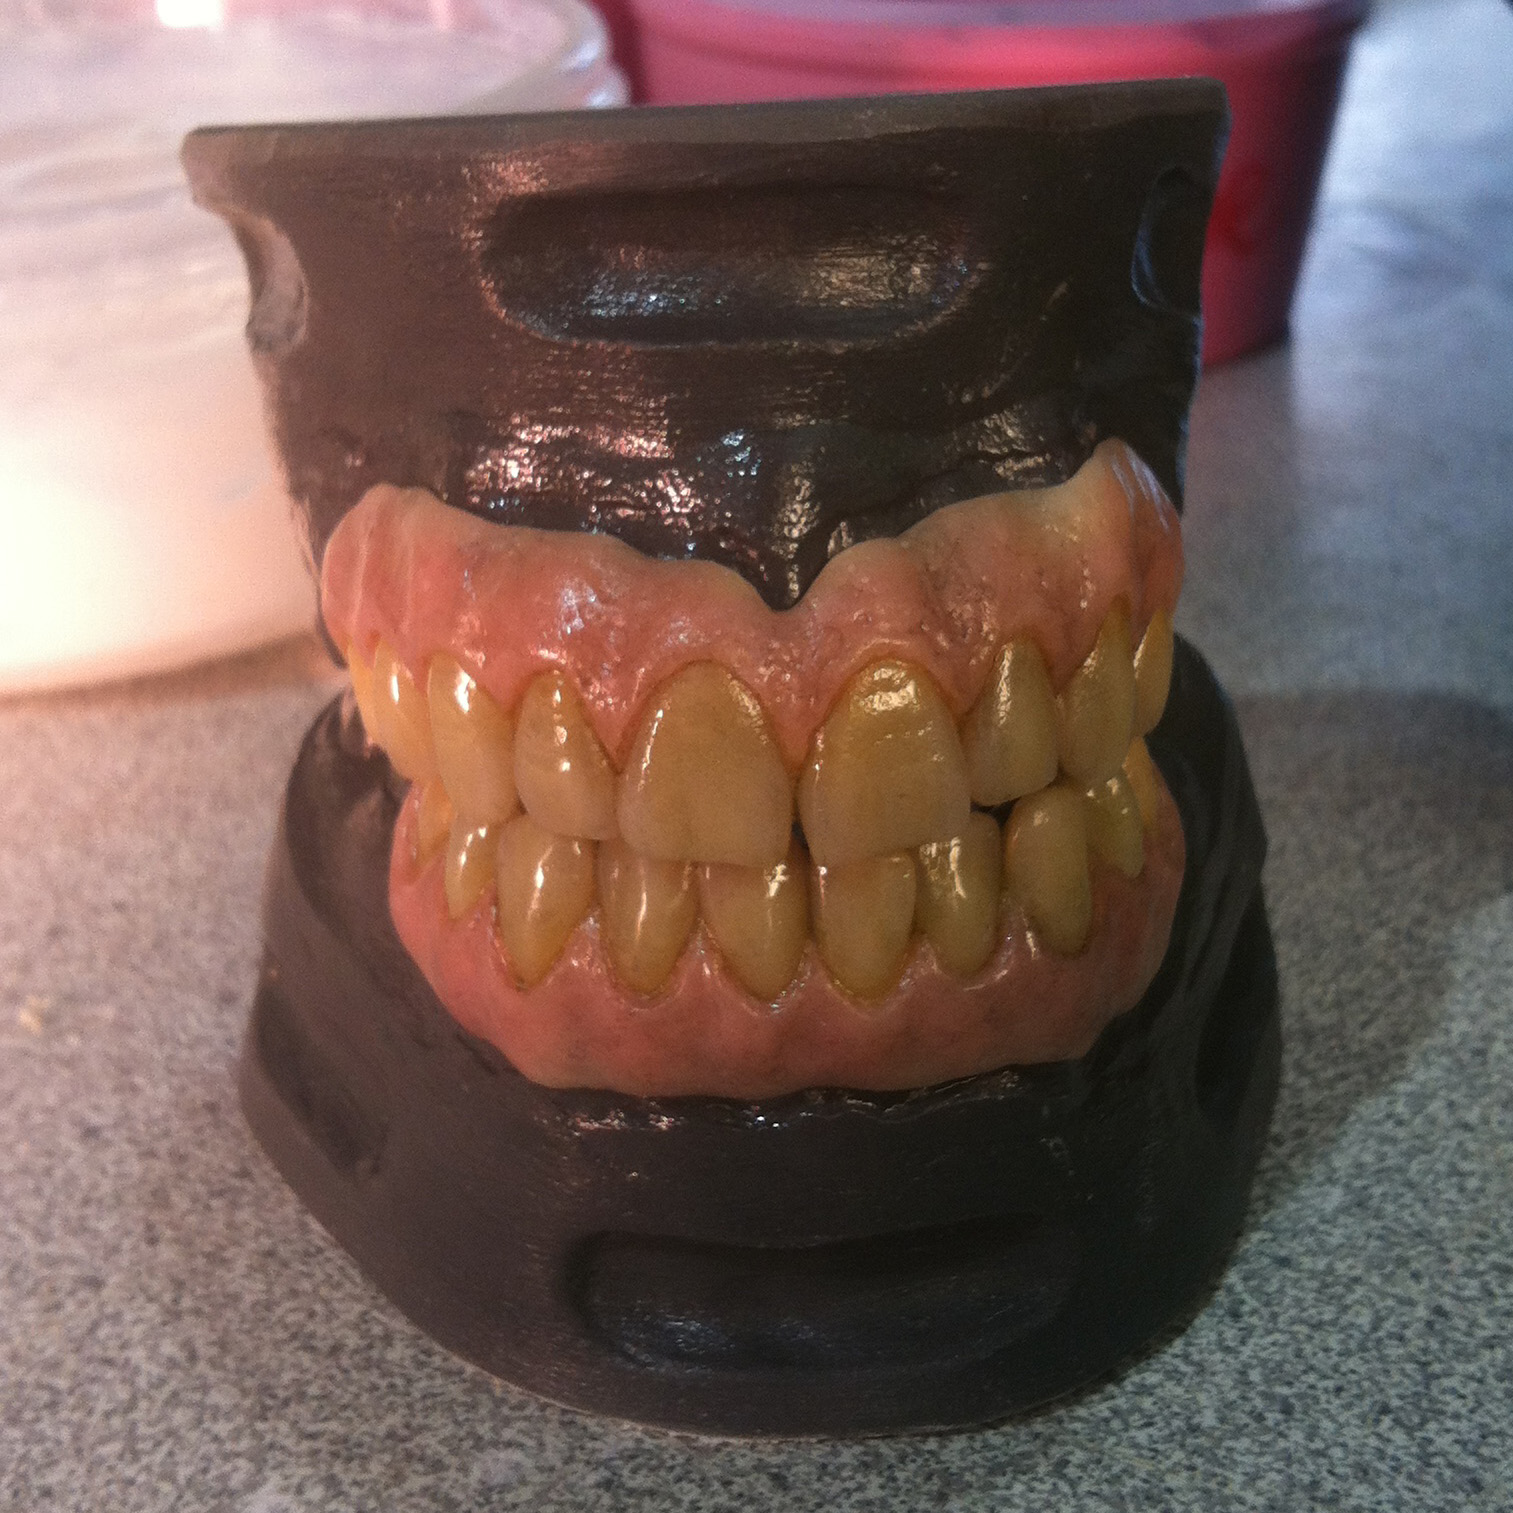
Dental Prosthesis


Character teeth done for 'Tomorrowland'


Removable teeth with silicone gums created for 'The Witches of East End'.


Character teeth created for 'Percy Jackson: Sea of Monsters'

Character teeth created for 'Percy Jackson: Sea of Monsters'


Creature teeth created for 'Wayward Pines'


Character teeth created for 'The Revenant'

Character teeth.
Masks


Latex background masks.
Props


Silicone surgery head and 8x scale silicone laryngoscopy from 'Untold Stories of the ER'.
Prosthetic Fabrication 

Silicone prosthetic from 'Supernatural'.

Silicone prosthetic from 'The Lemon Grove'.


Silicone prosthetics from 'The Returned'.


Silicone prosthetics from 'The Returned'.


Silicone prosthetics with blood rigs from 'A Single Shot' & 'Bates Motel'.


Silicone prosthetic. Gelatin prosthetics from 'Afflicted'.


Gelatin and foam latex prosthetics.


Bondo transfer and silicone prosthetics.