The project didn't literally take me 2 years to do though, this was just something I was gonna do in my off time. How ever I was fortunate enough to be busy with real paid work and often at that, so I was only able to work on it here and there. I had originally planned to do the makeup in the summer of 08' but just as I got the project off the ground work started and more or less didn't stop. I began the original sculpt and eventually more or less finished it in January of 09'. After finishing though I realized I didn't like it, or enough of it and felt I had lost the "Jamie" in the sculpt. Basically I didn't feel it looked like an older version of my model. So after a bit of time I restarted it from scratch.
The second sculpt felt more like Jamie to me, how ever now I had lost the degree of age I was shooting for (80-90), but I was happy with the more subtle (60-65) and much more Jamie like sculpt. I finished it this past fall 09' and began breaking down the sculpt into the multiple pieces it would need to be. I ended up with 9 pieces: forehead, back of head, ears, cheeks, nose/upper lip, chin/lower lip, and a full one piece neck.
One of the main reasons in doing this project was to learn how to go about the break down and application of a multi piece appliance makeup. I literally knew how to do it, I had done a gelatin burn scar makeup using the same basic techniques, yet had not actually done a makeup to this scale myself. There were many things I was curious about and added as much as I could to the experience. I even threw in some fancier techniques like a collapsible core neck mold (not really that fancy lol). The only thing I didn't do that I had thought about was a one piece silicone negative for my ear molds. Instead I opted for a 2 piece negative. Next time I'm definitely trying out the silicone negative for sure!!
After I more or less got to the end of the project I realized it took far longer than I had thought it would. In the shop you usually have multiple people working on one project, but to do every step by myself added so much more time!
In the end my knowledge has grown just that much more. I can tell you I know exactly how I will and will not be going about certain methods in future projects. All in all it was a fantastic learning experience.
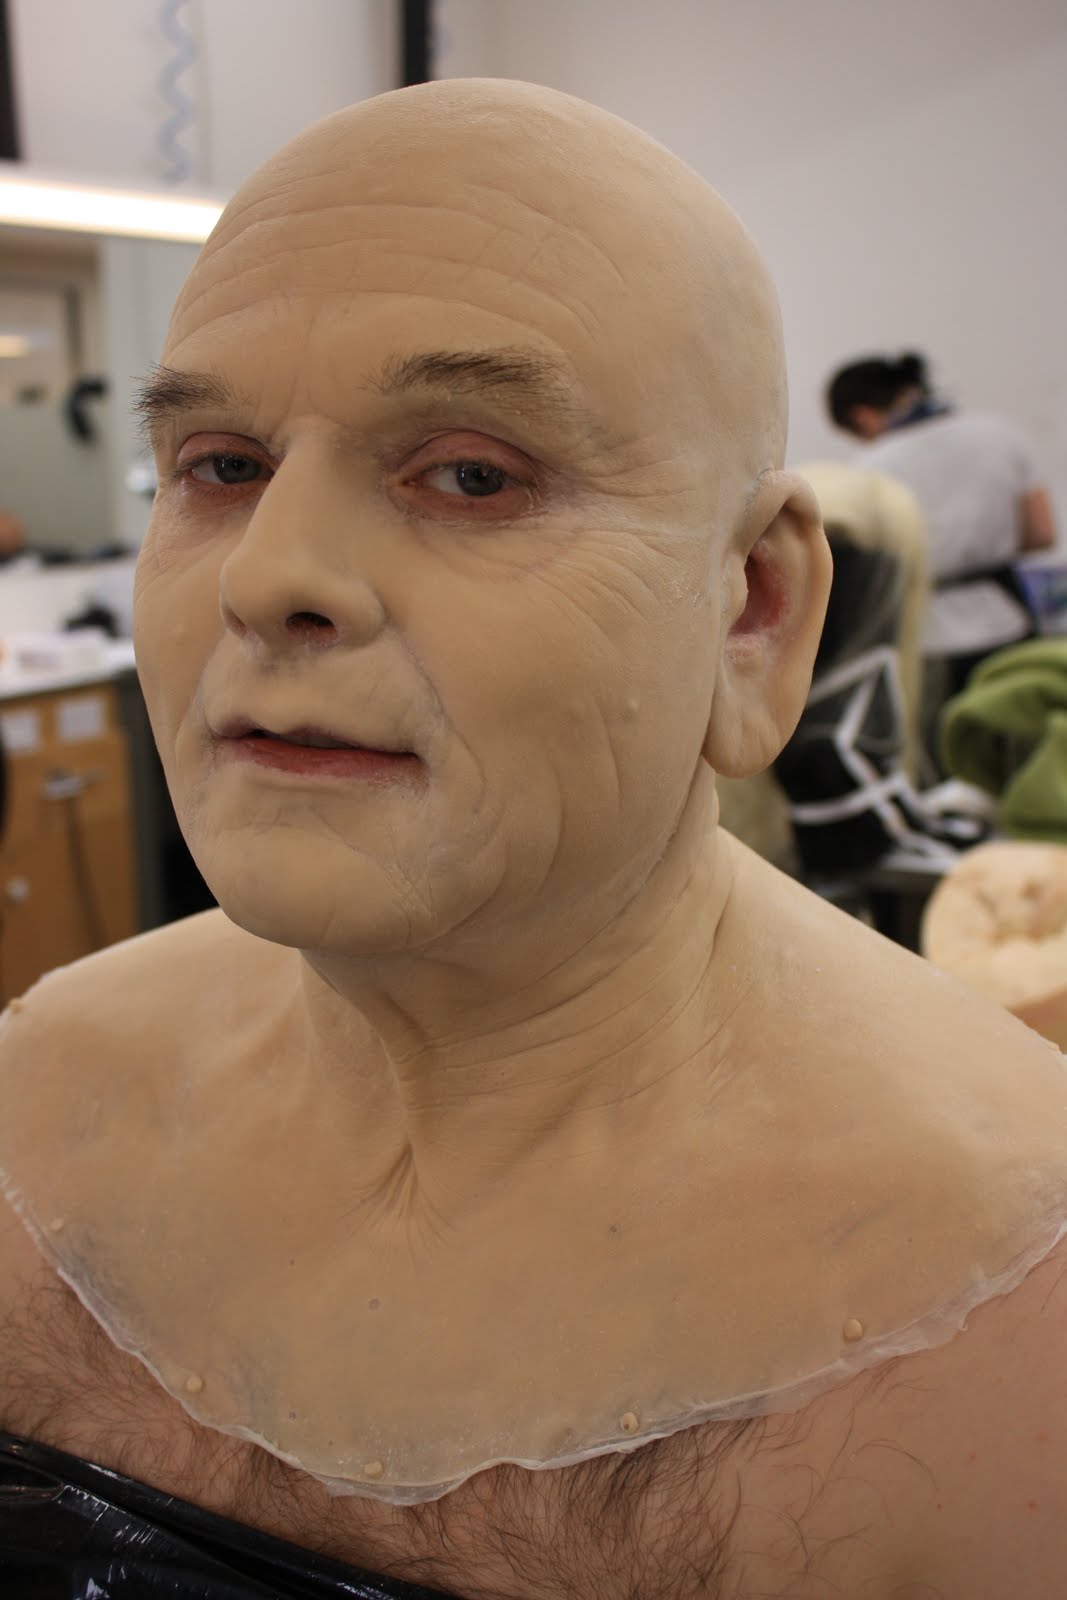
In regards to the application all the pieces ended up being baldies encapsulated 160% deadened Platsil Gel 10. Seemed to work out well at this softness, but will play more with that in the future. I applied the makeup with the help of my friend, coworker and fellow artist Crissy Renaud. It took us about 6 hours to apply, which is not too bad considering there were many firsts for both of us when applying this makeup.
We glued it down with Telesis and it was paint by airbrush with alcohol based colors. I did a bit of detailing with a regular brush as well. I also did a stipple on the upper eye lids. This was a test makeup for a demo I will be doing at the up coming Vancouver IMATS so some things were unfinished, like the seaming of the ears. Also there is some painting details I will take further for the demo ie: age spots, more freckling, capillaries etc.
Before I finish I definitely have to give credit to Shelagh McIvor for hand punching the brows for me! She did a fantastic job!
Alright here it is, enjoy!
The application and finished makeup!!


Some of the cast appliances.


The finished molds.


Collapsible core neck mold.


3 comments:
These molds are just wicked!
Love them!
New projects in progress?
Awsome work!!!!!
I am curious as to what you are coating the negative and positive molds with, ie. the gray coloring.
Thanks man!
I have 2 projects I am waiting to post on, both films are still in production or post.
I'm trying to do some more personal projects soon too!
Daniel the coating is a uretahne plastic call TC-1630. I do 2 layers of that, with burlap slightly pressed into the second one. Then once that is fully set up I back it with ultracal and burlap.
Post a Comment